Learning HTML for Kids!

What’s on this page?
Chapter Nine
Images Part II
Before we begin to apply what we learned so far about images, I’d like to take a moment to talk about copyright. It’s important.
A note about copyright
You should never use any graphics, text, photos, videos or music without permission. There are several sites available on the Internet where you can receive free images. But under no circumstances should you ever copy material unless the site says you can or you personally have received permission. It's just better to create your own stuff or ask (and get an okay) before you use someone else's stuff. Don't be a cheater!
Adding images to our story
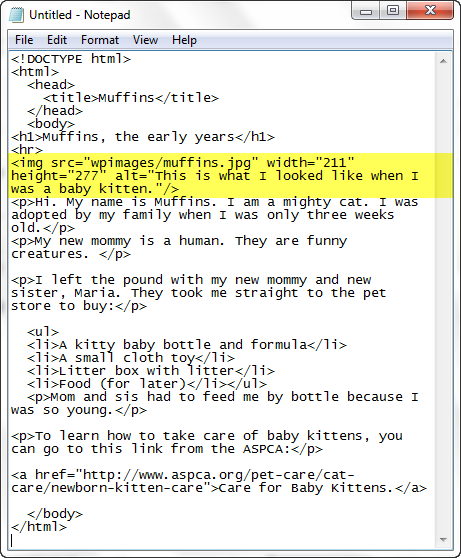
We will be adding a photo of Muffins to our story page. I’ve decided that I want the photo to appear just under the horizontal rule. Here are the attributes:
src= I have placed my image in a file called wpimages (wp stands for webpage) and that’s where I’m going to tell my browser to go for my photo. I save all my website images in this one folder to keep everything organized. You can do the same.
width=is 211 pixels
height= is 277 pixels
alt= text is “This is what I looked like when I was a baby kitten.”
Step One
Go to this link to get the photo of Muffins. Save it in a folder called wpimages within your HMLM folder
Step Two
Open muffins.html in your text editor. Let’s add this information (in yellow highlight) to our code, just under the horizontal rule.

Step Three
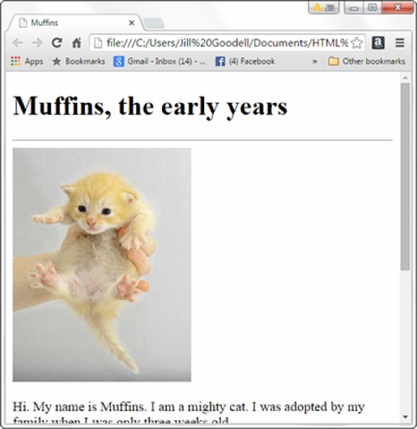
Save the file. Go to where you saved your file and click on it. What do you see now. Is it something like this?

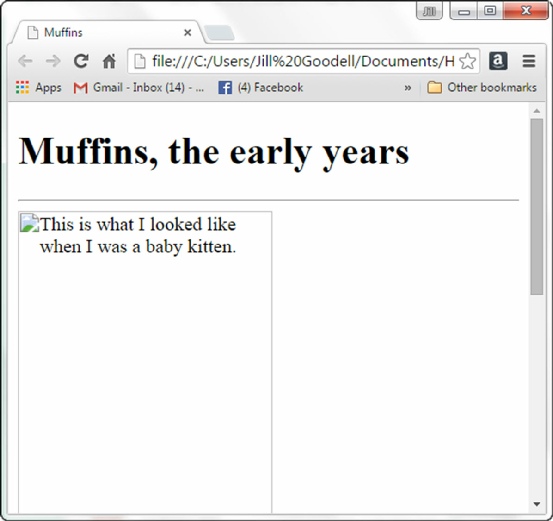
Below is the page without the photo–just the placeholder box and the alternate words.

Congratulations again!
Wahoo!!! You have created a webpage with text, an image and a link. What if you wanted to put the image at the end of the page or in the middle? Any ideas?
Now let’s see if we can give the page some style!
Privacy Statement
Learning HTML for Kids
© 1999-
Copyright
Adding Images